The Ultimate Guide to Creating Professional Labels with Pippit AI
The professional appearance of any product heavily depends on the labels used. A well-designed label will draw more interest in homemade jam jars and new skincare products. Not everyone finds it simple to develop professional labels. Pippit AI provides the solution for this task. Its professional label maker offers an easy and quick design method that requires no special skills.
Step 1: Sign Up or Log In to Pippit AI
Pippit AI feature requires users to create an account first.
Go to the Pippit AI website.
- New users can select the “Sign Up” button to create an account.
- First, enter your name and email address, then create a password.
- Existing users can select the “Log In” option.
- Use your email and password to enter your dashboard.
The entire setup procedure takes only several minutes to complete. After finishing the setup, the design process for your label begins.
Step 2: Choose the “Label Design” Feature
The dashboard in Pippit AI contains numerous tools that become visible after a successful login. The various tools serve specific purposes.
- Look for the feature called “Label Design.”
- Click on it to open the label creation page.
- You will create your label entirely from scratch on this page.
The tool exists to create sophisticated product labels with a professional finish.
Step 3: Select the Size and Shape of the Label
Each product requires its specific label dimensions.
- Think about your product’s container. Is it a jar, box, or bottle?
- Select from the available size options provided by Pippit AI.
- You can choose round, square, rectangle, or custom sizes
When choosing a label size, select dimensions that create a perfect fit for your product.
Step 4: Add Product Information
- Begin by entering the product name into the text field.
- Include additional product information by listing ingredients, providing directions, and specifying the expiration date.
- Your brand name, along with your logo, can be added to the label.
The Pippit AI offers users straightforward tools to modify text font dimensions and styles, as well as select different color options. Every piece of text should be readable by the viewer.
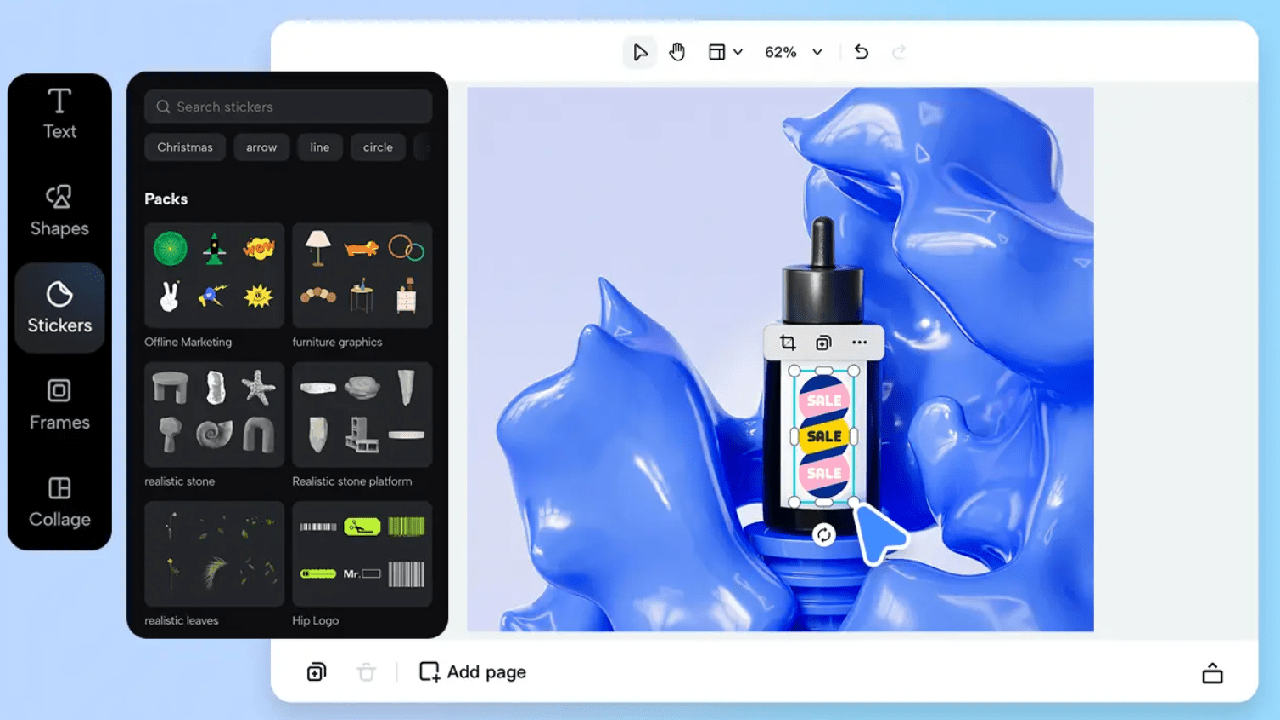
Step 5: Choose or Upload Design Elements
A label without design elements becomes visually unappealing. Adding colors, images, and icons can improve your label design.
- Multiple design templates are available for users to select.
- Users can add their personal logo or background image.
- Select new colors that reflect your brand identity.
Pippit AI enables users to perform all tasks through basic button clicks, requiring no expertise in graphic design to operate.
Step 6: Use AI Suggestions for Better Design
The choice between what appears attractive becomes challenging at times. Pippit AI also helps with that.
- Click the “AI Suggestions” button.
- The tool provides improved layout and color suggestions to users.
- Users can accept or ignore each suggestion that the tool provides.
Step 7: Preview Your Label
A preview of the label must be checked before downloading or printing.
- You can view your label design on a product by clicking the “Preview” button.
- Review the placement of text elements and images within the label design to ensure optimal visual appeal.
- Verify that all elements remain visible and intact on the label.
The preview step enables you to detect errors before proceeding with printing.
Step 8: Download or Print Your Label
You can save your label after you are satisfied with its appearance.
- Click the “Download” button.
- Select your desired file format from the options, which include PDF, PNG, and JPG.
- The label is available for printing through standard printers or professional print shops.
Pippit AI gives high-quality output that looks sharp and clean when printed.
Step 9: Apply Your Label to Your Product
- Place the printed label on your product after you cut it to size.
- A ruler or guide will help you position the label straight.
- Check for air bubbles when using sticker paper.
- Gentle pressure will create a smooth surface.
Your product label is ready for distribution or commercial sale to others.
Step 10: Save Your Design for Future Use
Users can save the customized designs for future use.
- Pippit AI enables users to save the labels they have created within their account.
- Select “Save Project” from the menu and enter a project name.
- You can return at any moment to modify your work.
Conclusion
With Pippit AI, creating professional labels has become simple. The step-by-step approach enables users to produce professional labels quickly within a short period. Using Pippit AI requires neither expensive tools nor expert skills—just a clear idea and a little time. A well-designed label creates a lasting and impactful initial perception when selling products.